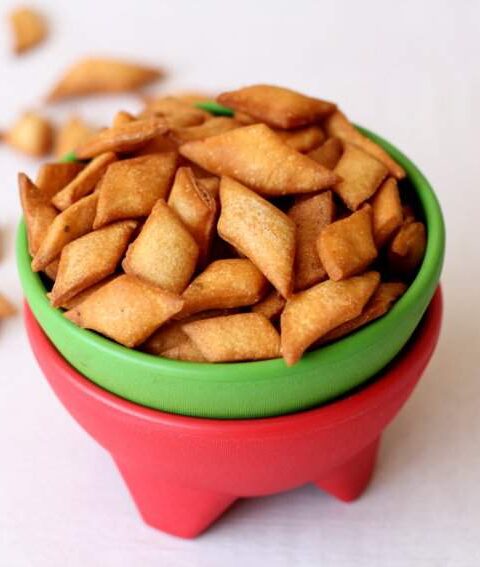
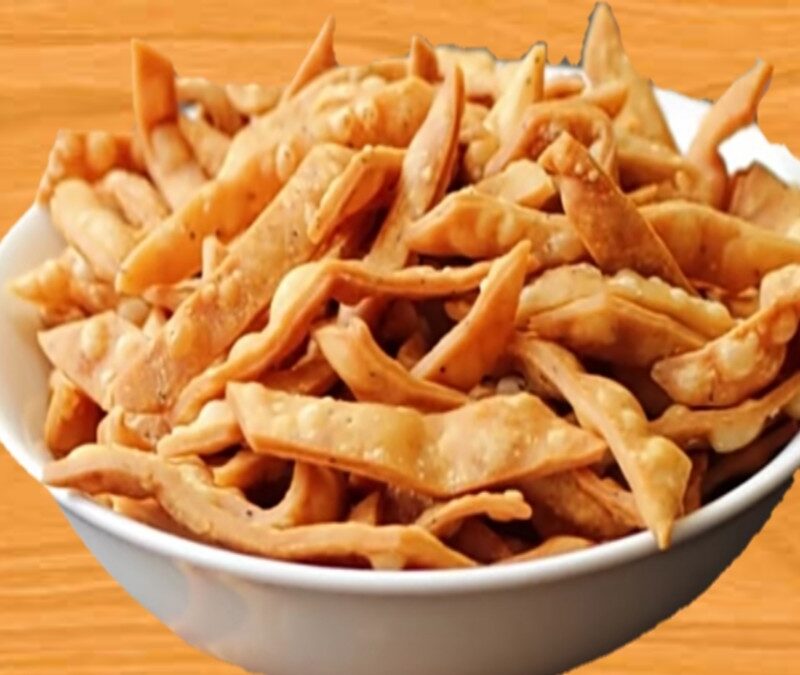
Nimki, also known as Namakpare is a popular savory Indian snack made from a simple dough of all-purpose flour, seasoned with carom seeds, salt, and optionally turmeric. The dough is rolled out, cut into diamond or square shapes, and deep-fried until golden and crispy. These crunchy, bite-sized delights are perfect for tea-time or as a snack on their own, offering a delightful blend of savory flavors and a satisfying crunch.
Here’s a detailed recipe for making nimki:
Ingredients:
- 2 cups all-purpose flour (maida)
- 4 tablespoons ghee or oil
- 1 teaspoon carom seeds (ajwain)
- 1 teaspoon salt (adjust to taste)
- 1/2 teaspoon turmeric powder (optional)
- Water (as needed for dough)
- Oil for frying
Instructions:
Making the Nimki Dough:
- In a mixing bowl, combine the all-purpose flour, carom seeds, salt, and turmeric powder (if using).
- Add ghee or oil to the flour mixture and rub it in with your fingertips until the mixture resembles breadcrumbs.
- Gradually add water, a little at a time, and knead the mixture to form a stiff dough. Ensure it’s not too soft. Cover the dough with a damp cloth and let it rest for about 15-20 minutes.
Shaping Nimki:
- After resting, divide the dough into smaller portions and roll each portion into a ball.
- Take a portion of the dough and roll it out into a thin circle (about 1/8 inch thick) on a lightly floured surface. You can use a rolling pin for this.
- Using a knife or a pizza cutter, cut the rolled-out dough into long strips, and then cut these strips diagonally to form diamond or rhombus shapes. You can also make simple squares or rectangles if preferred.
Frying Nimki:
- Heat oil in a deep frying pan or kadhai over medium heat.
- Once the oil is hot, carefully add a few nimki pieces at a time. Fry them in batches, making sure not to overcrowd the pan.
- Fry the nimki on medium-low heat, stirring occasionally to ensure even cooking. They should turn golden brown and crisp. It usually takes about 5-6 minutes per batch.
- Using a slotted spoon, remove the fried nimki from the oil and place them on paper towels to drain excess oil.
- Allow the nimki to cool completely before storing them in an airtight container.
- Repeat the frying process with the remaining batches of nimki dough.
Serving:
Serve these crispy nimki snacks as a tea-time accompaniment or enjoy them as a crunchy snack on their own. They can be stored in an airtight container for a few weeks.
Enjoy the delightful and crispy nimki with your favorite beverages or as a quick munchy snack!